How to Preprocess Images for Better OCR Results: Contrast, Cropping, and More
As a professional manager who works with digitizing documents daily, I’ve seen how much time and effort can be wasted when Optical Character Recognition (OCR) tools fail to detect text correctly. Often, the problem is not the OCR software itself but the quality of the image being processed. Preprocessing your images—adjusting contrast, cropping, removing noise—can make all the difference in accuracy. In this guide, I’ll share the methods my team uses to improve OCR results, along with practical examples you can apply immediately.
Why Preprocessing Matters for OCR Accuracy
OCR tools work best when the input image is clear, well-lit, and free from distractions. According to Adobe’s document scanning tips, poor image quality is one of the main reasons OCR misreads characters. I’ve seen situations where simply improving contrast increased recognition accuracy from 70% to nearly 99%. Preprocessing ensures your OCR tool can detect text shapes without confusion from shadows, low resolution, or background patterns.
Adjusting Image Contrast for Clearer Text Detection
One of the most effective ways to help OCR tools is by enhancing the contrast between text and background. This is especially important for old printed materials or scanned documents with faded ink. Tools like Photoshop, GIMP, or even free online editors allow you to fine-tune contrast before processing. For example, when I digitized old invoices for our company archive, boosting the contrast made faint printing pop out, and OCR captured the text almost perfectly.
Cropping Images to Remove Irrelevant Areas
When images contain extra borders, irrelevant graphics, or advertisements, OCR can get confused. Cropping removes these distractions and ensures the OCR engine focuses only on the text. Many times, my team uses cropping when processing receipts, where logos or decorative borders might interfere. Using built-in cropping tools in scanners or apps like Microsoft Lens can make the text the primary focus, leading to faster and more accurate conversions.
Deskewing and Straightening Images Before OCR
If your scanned document or photo is tilted, OCR accuracy can drop dramatically. Deskewing—straightening the text lines—ensures the OCR engine reads words in a proper horizontal flow. I’ve had projects where slightly skewed meeting notes resulted in jumbled text output until we fixed the alignment. Most OCR tools, including ABBYY FineReader, offer built-in deskewing features, but you can also do it manually in photo editing software before uploading.
Removing Background Noise for Cleaner OCR Output
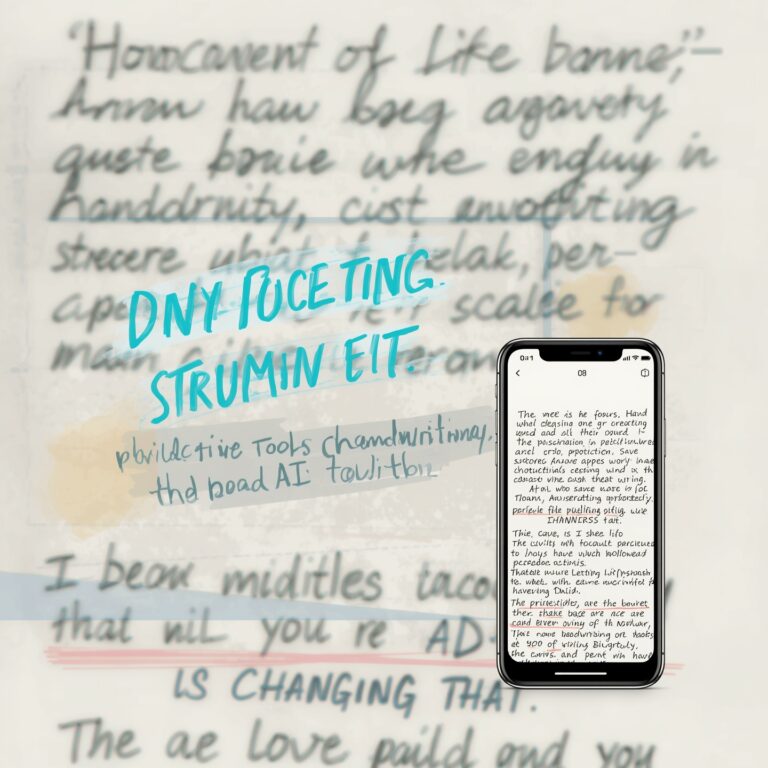
Noise refers to unwanted spots, patterns, or shadows that can confuse OCR tools. For example, photographing a document under poor lighting may result in uneven brightness. Using noise removal filters or converting the image to black-and-white helps make the text stand out. This method was especially useful when I digitized handwritten forms, where paper texture created speckles that OCR mistook for punctuation.
Table: Common Preprocessing Techniques and Their Benefits
| Preprocessing Step | Purpose | Impact on OCR Accuracy | Recommended Tools |
| Increase Contrast | Make text stand out from background | High | Photoshop, GIMP, Adobe Scan |
| Crop Unwanted Areas | Remove irrelevant elements | High | Microsoft Lens, ScanTailor |
| Deskew | Straighten tilted text lines | Medium to High | ABBYY FineReader, ScanTailor |
| Noise Removal | Eliminate background patterns or spots | Medium | Paint.NET, Online Image Editors |
| Convert to Grayscale | Remove color distractions | Medium | Any basic photo editor |
Optimizing Image Resolution for OCR Success
Resolution plays a huge role in OCR results. For printed documents, a resolution of at least 300 DPI (dots per inch) is recommended by Google Drive OCR guidelines. When resolution is too low, letters can blur, making them harder to recognize. In my experience, even smartphone images can produce excellent results if you hold the camera steady and ensure proper focus.
Converting Images to High-Contrast Black-and-White
For many OCR tasks, especially on receipts or monochrome documents, converting an image to high-contrast black-and-white is a game-changer. This removes any color noise and allows OCR tools to focus on the letter shapes. When I handled expense reports for my department, this preprocessing step saved hours of manual corrections.
Choosing the Right File Format Before OCR
Not all image formats are equal when it comes to OCR performance. Formats like PNG and TIFF generally preserve higher quality than JPEG, which can introduce compression artifacts that confuse text recognition. For example, when we scanned technical manuals for our training department, saving them in TIFF format significantly improved OCR results because the fine details in text edges were maintained. If you must use JPEG, always select the highest quality setting to minimize loss.
Brightness Adjustments to Enhance Legibility
Along with contrast, brightness adjustments can make faded text more readable. If the document is too dark, OCR tools may interpret shadows as letters, and if it’s too bright, letters may fade into the background. A slight brightness increase often works best for old photocopies or handwritten notes. Free tools like Photopea or built-in adjustments in Windows Photos can handle this quickly without needing advanced editing knowledge.
Batch Preprocessing for Multiple Documents
When handling large projects, processing each file manually is time-consuming. Batch preprocessing lets you apply the same contrast, cropping, and noise removal settings to multiple images at once. Many professional OCR workflows use tools like IrfanView or Photoshop batch actions to speed up this step. For example, in a project where we digitized over 500 HR forms, batch cropping and deskewing cut preparation time by more than half.
Using Filters to Enhance Handwriting Recognition
OCR for handwriting is trickier than for printed text. Increasing sharpness, reducing shadows, and applying light smoothing filters can improve recognition rates. I once worked on converting handwritten meeting notes from our legal department, and applying a light sharpen filter before OCR improved output accuracy by nearly 30%. While AI-powered OCR tools like Google Vision or Microsoft Azure OCR are getting better at handwriting, preprocessing still boosts results.
Avoiding Over-Editing That Can Harm OCR Results
While preprocessing is important, overdoing it can reduce accuracy. Over-sharpening may create false edges, while too much contrast adjustment can merge thin letters. Always preview your changes before running OCR. In one case, a junior team member over-edited shipping labels, which caused OCR to misread barcode text entirely — we had to start over from the original scans.
Table: Preprocessing Mistakes to Avoid and Their Effects
| Mistake | What Happens | How to Avoid |
| Over-Sharpening | Creates extra edges that confuse OCR | Use mild sharpening only when needed |
| Too High Contrast | Merges thin text into solid blocks | Adjust gradually and test |
| Excessive Noise Reduction | Blurs small letters or details | Keep balance between clarity and detail |
| Cropping Too Aggressively | Cuts off parts of letters | Always leave a margin |
| Wrong File Format | Compression artifacts distort text | Use PNG/TIFF for best results |
Testing OCR Output Before Full Conversion
Before processing hundreds of pages, always test your settings on a small sample. This helps you spot issues early and adjust accordingly. When digitizing financial reports for our board of directors, we tested different brightness and contrast settings on three sample pages, which saved us from making costly mistakes on the entire batch.
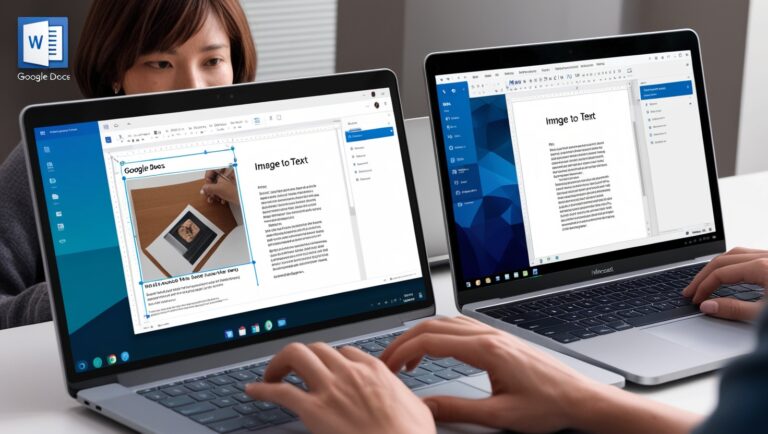
Leveraging Mobile Apps with Built-In Preprocessing
If you’re capturing documents with a smartphone, many OCR apps now include automatic preprocessing. Apps like Adobe Scan, CamScanner, and Microsoft Lens automatically detect edges, straighten images, and adjust lighting before OCR. I often recommend these to team members who work remotely because they deliver consistent quality without extra editing steps.
Final Thoughts on Image Preprocessing for OCR
From my professional experience, the difference between a poorly preprocessed image and a well-prepared one can mean hours of extra editing time. By following best practices like adjusting contrast, cropping distractions, deskewing, and choosing the right format, you can achieve near-perfect OCR results. Whether you’re digitizing office documents, personal notes, or historical archives, preprocessing is a step you should never skip.