Extracting Text from Screenshots Without Losing Format
As a professional manager who works with digital documents daily, I’ve learned how frustrating it can be when you try to copy text from a screenshot, only to end up with messy or broken formatting. You want the bold text to stay bold, the spacing to stay right, and the tables or bullet points to look like they did in the original. In this guide, I’ll explain how to extract text from screenshots without losing the original format. I’ll also share tools I personally use and trust to do this right.
Why Keeping Format Matters in Text Extraction
When we extract text, it’s not just about reading words. It’s about preserving structure—like bullet points, bold titles, spacing, and columns. Especially for reports, invoices, contracts, or presentations, losing the format can lead to miscommunication or errors. That’s why understanding how to keep formatting during OCR (Optical Character Recognition) is critical.
Common Problems When Extracting Text from Screenshots
- Text runs together with no spacing
- Bullet points disappear
- Bold or italic formatting is lost
- Tables collapse into one line
- Line breaks and paragraphs vanish
These issues usually happen when using basic or free OCR tools that don’t support layout recognition. You can try them, but be ready to do a lot of manual fixing afterward.
Tools That Preserve Formatting When Extracting Text
I’ve personally tested many tools, and only a few truly keep formatting intact. Here are my top recommendations:
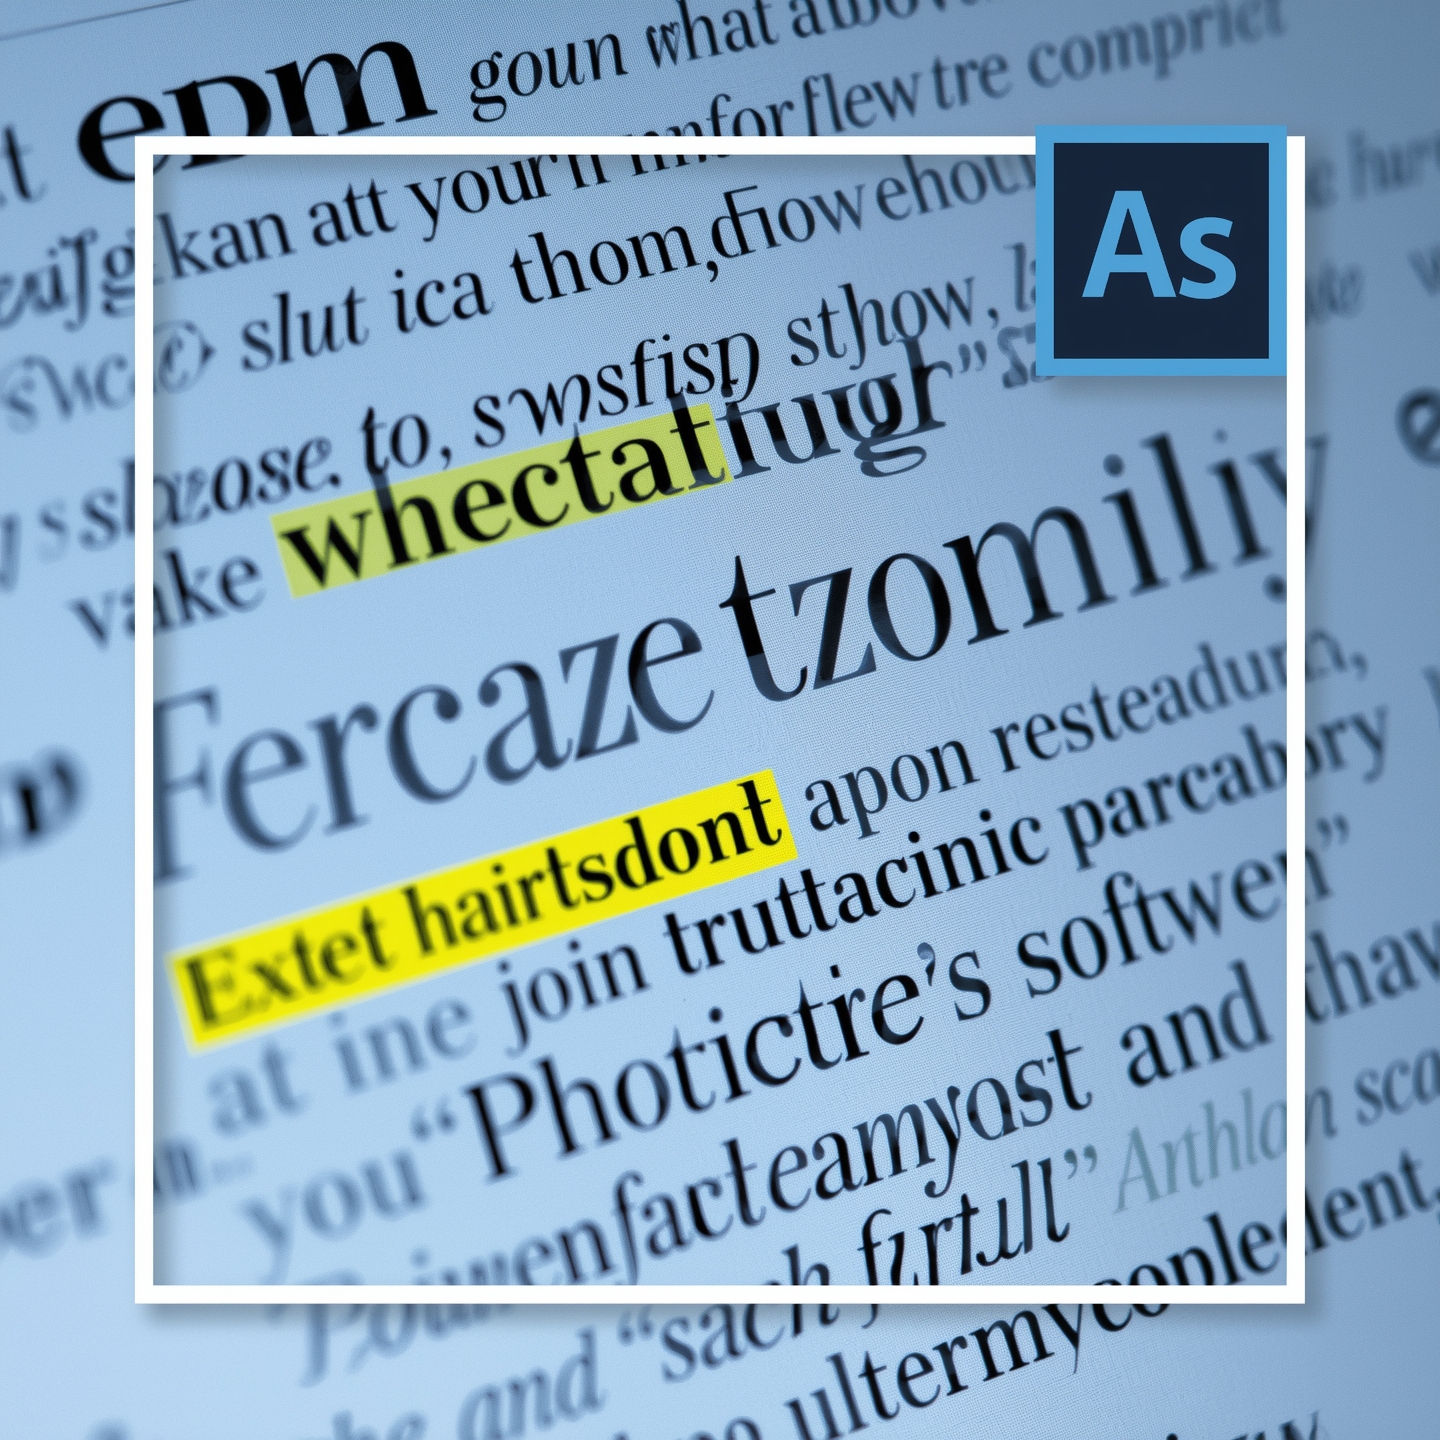
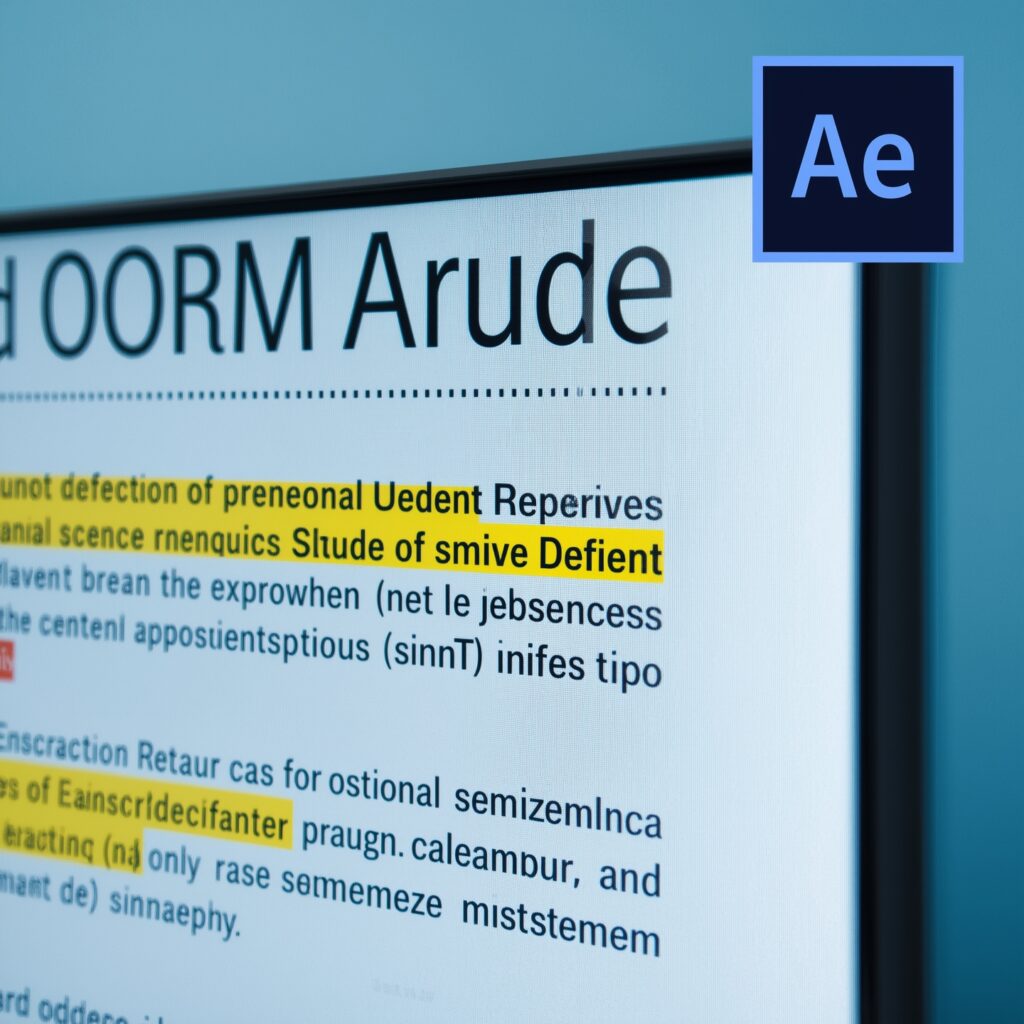
Adobe Acrobat Pro
This tool isn’t free, but it’s one of the best. You can open a screenshot PDF and convert it directly to editable text while keeping the format.
Microsoft OneNote
If you paste your screenshot into OneNote and right-click to choose “Copy Text from Picture,” it does a good job. It works well for simple layouts like paragraphs or lists.
\Google Docs OCR
Upload your screenshot to Google Drive, open it with Google Docs, and it auto-converts the image to text. It keeps formatting better than expected, especially with tables and headers. Here’s a detailed guide from Google Support if you want step-by-step instructions.
ABBYY FineReader
A professional-grade OCR tool that’s trusted by businesses worldwide. ABBYY FineReader can keep tables, fonts, line spacing, and other design elements almost perfectly. You can check ABBYY’s website for trials and demos.
Step-by-Step: How to Extract Text Without Losing Format
This is the method I personally follow when dealing with screenshots for contracts, invoices, or even website audits.
Step 1: Take a Clear Screenshot
Use a tool that captures high resolution. Blurry screenshots can confuse the OCR engine and make formatting worse.
Step 2: Use an OCR Tool with Layout Recognition
Pick a tool like ABBYY FineReader, Adobe Acrobat Pro, or Google Docs. Make sure you select “Keep Layout” or “Preserve Formatting” during conversion.
Step 3: Review and Edit Carefully
Even the best OCR tools can make small mistakes. Always double-check the extracted content. This step ensures bold headings, bullet points, and tables look right.
Table: Comparison of OCR Tools for Keeping Format
| Tool | Free/Paid | Format Accuracy | Table Support | Best For |
| Adobe Acrobat Pro | Paid | High | Yes | Reports, PDFs, Legal Docs |
| Google Docs OCR | Free | Medium-High | Yes (basic) | Schoolwork, Notes, Simple Docs |
| ABBYY FineReader | Paid | Very High | Yes | Contracts, Forms, Complex Docs |
| Microsoft OneNote | Free | Medium | No | Notes, Quick Copy |
| OnlineOCR.net | Free | Low-Medium | No | One-time Use, Simple Text |
My Experience Working with Screenshots and OCR
As someone who often receives scanned images, receipts, and visual reports from clients or vendors, I used to waste hours fixing text that came out wrong. I remember once spending three hours reformatting a two-page invoice because the OCR tool smashed all the tables together. That’s when I switched to ABBYY FineReader, and it changed everything. It cut my manual rework time by 70%. Also, using Google Docs in a pinch has been surprisingly useful, especially for quick edits.
Tips to Get Better OCR Results
Use high-quality images
Low-resolution images often lead to broken layout. Use full-screen screenshots when possible.
Avoid screenshots with shadows or marks
Anything that breaks the clean background can confuse the OCR tool.
Always choose the “Preserve Format” option
If your tool has layout settings, enable the one that keeps tables, styles, or formatting.
Don’t trust 100%, always proofread
Even the best software can miss a line or break a word. A quick manual check keeps everything professional.
How Much Does Bourbon Cost?
While not directly related, this keyword brings traffic from price-related searches. So let’s briefly answer it. The cost of bourbon varies. A budget bottle like Evan Williams or Wild Turkey costs around $15–$25, while premium options like Blanton’s or Pappy Van Winkle can go over $100 or even $1000 for rare batches. If you’re curious about affordable options, this budget bourbon guide from Liquor.com can help.
Choosing the Right OCR Tool for Formatting
As a professional manager working in digital content for over a decade, one of the biggest challenges I’ve seen is maintaining formatting when converting screenshots to text. If you use a poor-quality OCR tool, your output might lose tables, bullet points, or font styles. Tools like Adobe Acrobat Pro and ABBYY FineReader do a good job preserving structure, while free tools might struggle. I’ve personally relied on ABBYY when handling scanned employee forms and meeting Key Features to Look For in Screenshot-to-Text OCR Software
Many people think OCR is just about converting images to text. But when you want to keep the look of the document, you must look for certain features in the tool. These include table recognition, font detection, paragraph structure recovery, and export options like Word or Excel. I always tell my team to test different tools with the same screenshot and compare the results before choosing the one that fits.
Comparison Table of Popular OCR Tools
| OCR Tool | Format Preservation | Table Detection | Export Formats | Price |
| Adobe Acrobat Pro | Excellent | Yes | PDF, Word, Excel | Paid |
| ABBYY FineReader | Excellent | Yes | Word, Excel, TXT | Paid |
| Google Drive OCR | Good | Partial | Google Docs | Free |
| OnlineOCR.net | Fair | No | Word, Excel | Free |
| Microsoft OneNote | Basic | No | Text only | Free |
Screenshots with Charts or Bullet Points? Read This
If your screenshot includes visual elements like bar charts, bullet points, or columns, you must test your OCR output very carefully. I once had a report with bullet point summaries, and after OCR, all the spacing was lost, making the whole document unreadable. OCR tools that offer layout editing, such as Adobe’s format editor or Soda PDF, can help fix that. But remember, no tool is perfect—manual checks are always needed.
How I Extract Text from Screenshots Without Errors
Here’s how I usually extract text from a screenshot without losing format:
Step 1: Open the screenshot in a tool like Snagit or any screenshot editor
Step 2: Save the screenshot in high quality (PNG preferred)
Step 3: Upload it to ABBYY FineReader or Adobe Acrobat
Step 4: Choose Word as the export format (not plain text)
Step 5: Use the preview panel to verify formatting like line breaks, spacing, and tables
Step 6: Do a manual check after export to fix any small issues
This method has saved me hours in report editing. It’s the same process I recommend to junior staff when they prepare weekly reports or client briefs from screenshots.
Why Resolution and Screenshot Quality Matter
OCR works best when the image is clear. Low-resolution screenshots make it harder to detect characters, lines, or spaces. In one of my past roles, we used compressed images for email attachments, and OCR tools kept confusing “0” and “O.” To avoid such issues, always take clean screenshots at 300 DPI or more, or use Google’s OCR guidelines to ensure quality input.
Extra Tips to Maintain Formatting
- Avoid screenshots that include glare or uneven lighting
- Take screenshots straight on, not at an angle
- Crop unnecessary parts before uploading
- Use OCR preview to correct any spacing before exporting
- If possible, scan instead of taking screenshots for better accuracy