How to Ameliorate OCR Results with Better Image Quality
Optical Character Recognition, or OCR, is a tool that reads textbooks from images. But OCR only works well when the image quality is good. However, dark, or has murk, If the image is vague.
In this composition, you’ll learn how to get better OCR results by perfecting the quality of your images. We’ll explain what affects OCR, how to fix common problems, and what tools can help. Let’s get progeny started!
Why Image Quality Matters in OCR
OCR tools are smart, but they still need clear film land to work duly. Suppose of it like trying to read a book in the dark or with soiled runners. It’s hard, right?
The same happens with OCR.
If your image is:
- vague
- Too bright or too dark?
- Tilted or rotated
- Low resolution
Also means the software will struggle to read the textbook.
More image quality means better textbook recognition. It helps the software find the letters and figures more fluently.
Use High-Resolution Images
One of the biggest keys to good OCR is high resolution. Resolution means how numerous pixels the image has. Further pixels = further detail.
Use a minimal resolution of 300 DPI (blotches per inch) when surveying documents for OCR. This position is sharp enough for most software to read published or compartmented textbooks easily.
Still, make sure:
- If you’re using a camera or phone rather than a scanner.
- The image is n’t compressed too much.
- You hold the camera steady.
- The picture is taken in good lighting.
High-res images make it easier to descry fine lines, angles, and letters.
Fix Vague or Out-of-Focus Images
Vague images are one of the top reasons OCR fails. Blurriness happens when the camera moves or when it’s too close to the object. That’s how to fix it.
- Use a tripod or stable surface when taking a print.
- Do n’t zoom in too close — keep a small distance.
- Make sure your camera or phone focuses on the textbook.
- Clean your lens if demanded.
Some OCR tools include bus-focus or stropping features. But it’s always better to start with a sharp image from the morning.
Check Lighting and Avoid Murk
OCR works best with indirect lighting. Murk and bright spots confuse the software. That’s how to ameliorate lighting.
- Use natural light if possible.
- Avoid taking film land in direct sun.
- Place the document under a beacon with soft light.
- Do n’t let your hand or phone cast a shadow still.
OCR delicacy drops if the corridors of the image are dark or too bright. Always check your picture before uploading it to your OCR tool.
Keep the Text Straight and Aligned
OCR software expects the textbook to be vertical and straight. However, the results may have crimes, If your image is listed. To fix this:
- Place the paper on a flat surface.
- Take the print from directly over, not at an angle.
- Use editing tools to rotate or crop the image if demanded.
- Some OCR tools have bus-deskew features.
But still, it’s stylish to take a straight image from the launch.
Remove Noise and Background Clutter
“Noise” in an image means arbitrary spots, lines, or patterns that do n’t belong. Clean backgrounds help OCR decipher letters more. That’s how to reduce noise.
- Overlook or print documents on a clean, solid-multicolored face
- Use pollutants to remove grain or unwanted marks.
- Convert multicolored images to black-and-white for better discrepancy.
OCR loves discrepancy. A dark textbook on a light background (like black on white) gives stylish results. Try to avoid multicolored paper or busy backgrounds.
Use OCR-friendly Sources and Clear Text
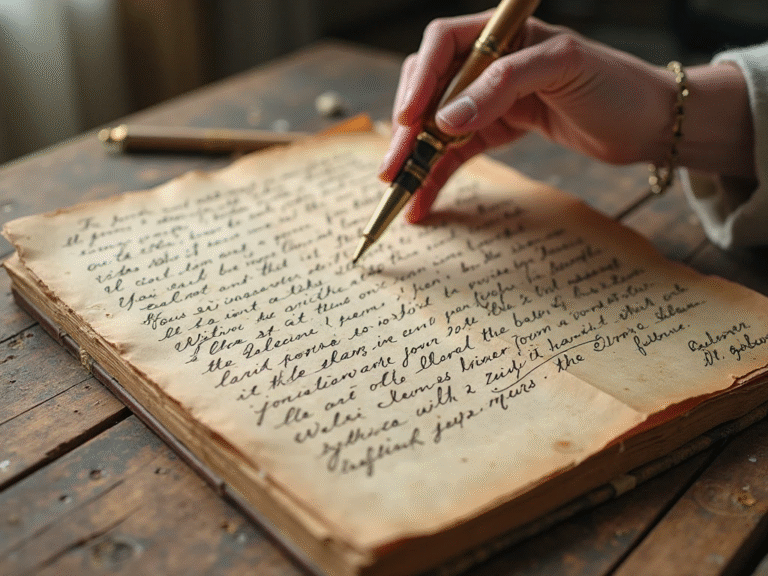
Some sources are hard for OCR to read, especially if they are handwritten, fancy, or ornamental. Veritably small OCR works best with standard published sources, like Arial, Times New Roman, or Helvetica.
The letters should be:
- Big enough to see easily
- Not touching each other
- Not distorted or faded
Still, use clean sources and make sure everything is compartmented easily if you’re surveying a form or creating a document for OCR.
Crop Extra Perimeters and Borders
Too much important space around the textbook can confuse OCR tools. Borders, designs, or ensigns may be picked up as part of the textbook.
To help:
- Crop the image to concentrate only on the textbook.
- Remove ensigns, borders, or prints if possible.
- Use editing tools to punctuate the textbook area only.
This improves both textbook recognition delicacy and processing speed.
Convert Images to Black and White
Grayscale and black-and-white images work well with OCR. They remove gratuitous colors and make the textbook stand out. You can use:
- Online tools
- Mobile apps
- Image editors (like Photoshop, GIMP, or Preview on Mac)
Turning your image into high-discrepancy black and white will help the OCR software descry letters more directly.
Use OCR Software with Preprocessing Features
Numerous ultramodern OCR tools come with smart features like:
- Bus gyration
- Noise reduction
- Different adaptation
- Text line discovery
Some great exemplifications include:
- Adobe Acrobat Pro
- ABBYY FineReader
- Tesseract OCR (open source)
- Google Drive OCR
- Online OCR tools
These features help fix small image problems before the OCR runs. But they work stylishly when the original image is formerly clear.
Overlook in the Right Format
The type of train you overlook can also affect the results. OCR tools work best with:
- TIFF and PNG
- High-quality JPGs
- PDFs with image layers
Avoid scanning in low-quality formats. Make sure your scanner settings are set to “textbook mode” or “document mode” for the stylish clarity. Also, avoid saving in lossy formats that compress the image and blur the letters.
Tips for Smartphone OCR
Numerous people use OCR apps on their phones. These are great, but only when the print is taken duly. That’s how to get better OCR on mobile:
- Use scanner apps like Microsoft Lens, Adobe Scan, or CamScanner.
- Hold the phone steady and position
- Use flash only if it helps visibility.
- Review the image before running OCR.
Some apps indeed clean up the image automatically. Still, good lighting and sharp focus matter most.
Test and Review the Results
After running the OCR, always check the affair. Indeed, with perfect images, there may be small miscalculations.
- Look for missing letters or words.
- Compare with the original.
- Use erected-in spell-check tools.
You can also train some OCR tools (like Tesseract) to ameliorate over time by feeding them better images. The thing is n’t just to overlook the textbook but to get a clean, editable textbook that matches the original.
Conclusion
More images = more OCR. OCR is important, but it depends on the quality of your image. Clear, sharp, and well-lit images give stylish results.
To ameliorate OCR:
- Use high resolution
- Avoid murk and light
- Keep the textbook straight and clean
- Reduce noise and clutter
- Choose the right software tools
When you follow these ways, your OCR results will be more accurate, brisk, and easier to work with.