How Students Can Use Image to Text Tools for Faster Note-Taking
Introduction to Image to Text Tools for Students
As a professional manager balancing work and study, I’ve seen firsthand how technology can make life easier. For students, one of the biggest challenges is taking notes quickly and accurately during lectures. Fortunately, with advancements in Optical Character Recognition (OCR), students now have powerful tools to convert images into text in seconds. This saves time, reduces errors, and boosts productivity.
Using image to text tools allows students to capture lecture slides, whiteboard notes, or textbook pages in a photo and instantly turn them into editable text. In this article, I’ll guide you through how OCR tools can speed up your note-taking process, sharing both personal insights and practical tips.
What Is Image to Text Conversion and How Does It Work?
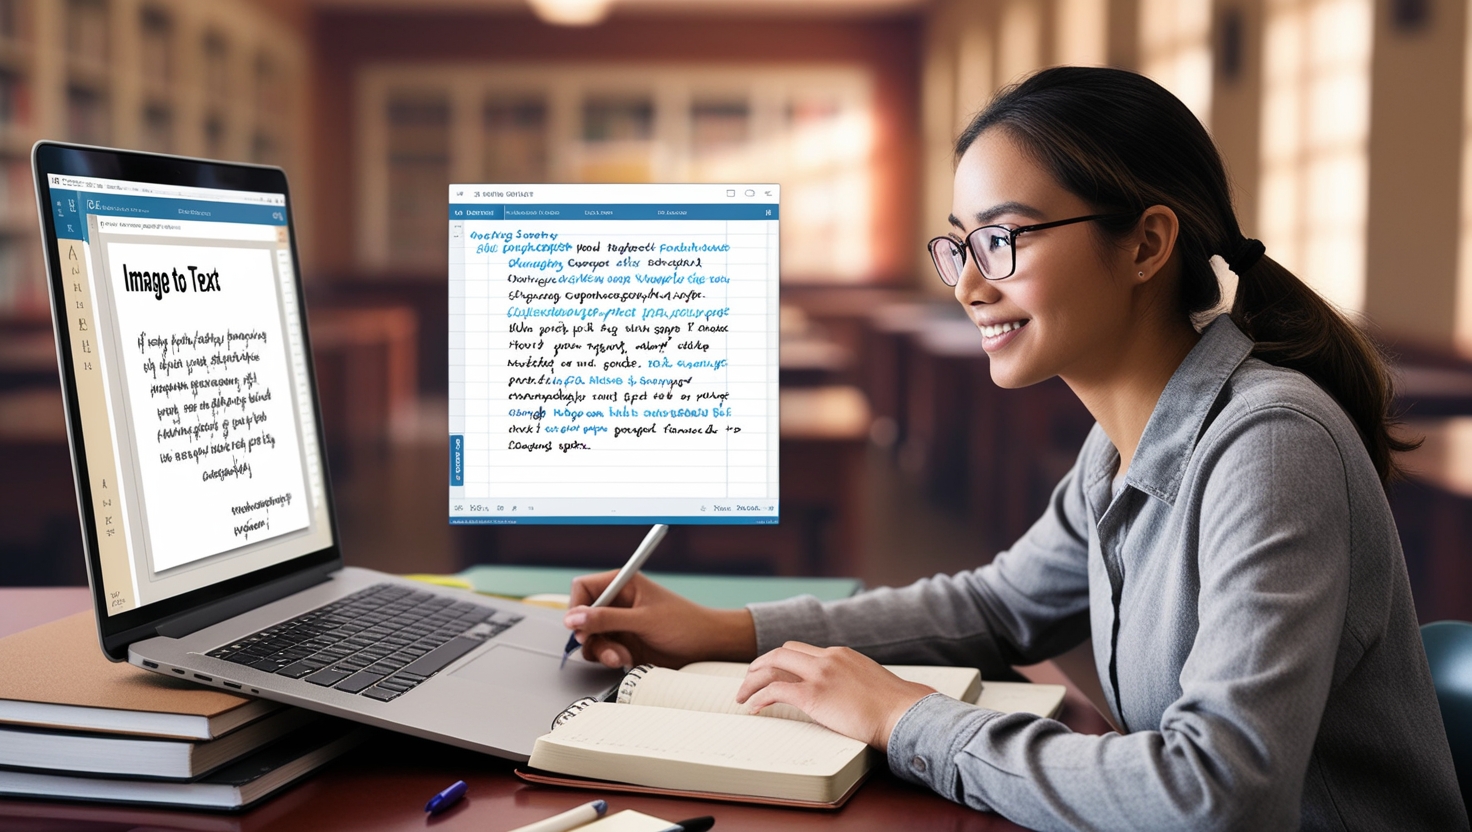
Image to text conversion, powered by OCR (Optical Character Recognition), is a technology that scans images of printed or handwritten text and transforms them into editable, searchable text. When students take photos of notes, slides, or other educational material, OCR tools recognize the text in the image and extract it into digital format.
For instance, if you snap a photo of a textbook page, an OCR tool like Google Keep can extract the text so you don’t have to type it manually. It’s as simple as taking a picture, uploading it, and letting the OCR tool do the work.
I’ve used this myself during college presentations, and it was a game changer. Instead of sitting through long lecture slides, I could simply capture them on my phone and convert them to text, saving hours of typing. OCR tools can handle not only printed text but also some neat handwritten notes.
The Benefits of Using OCR for Students
Speeding Up the Note-Taking Process
Traditional note-taking methods can be time-consuming. As a student, you might find yourself writing down every word the professor says, which takes up a lot of time. Image to text tools can save you a significant amount of time by allowing you to simply snap a photo of a textbook page or lecture slide. This instant conversion into text means you can focus more on understanding the material rather than writing it down.
For example, I once took a picture of a whiteboard during a history lecture and, within seconds, turned it into editable text using Online OCR. This saved me from writing down the entire content manually and helped me focus on understanding the key points.
Easy to Edit and Organize Notes
Once you’ve extracted text from an image, you can easily edit and organize it into your digital study files. Using tools like Google Docs, you can paste the extracted text, edit, highlight, and even add additional notes. This makes it much easier to review your notes later.
During my own study sessions, I often used OCR to scan class slides. Instead of flipping through pages of handwritten notes, I could search for keywords, copy-paste relevant information, and create digital flashcards for exam prep.
Popular Image to Text Tools for Students
Here’s a comparison of some of the best OCR tools that I’ve personally used for faster note-taking:
| Tool Name | Platform | Key Feature | Best For |
| Google Keep | Mobile/Web | Extracts text from images | Quick note-taking, capturing class notes |
| OneNote OCR | Mobile/Desktop | OCR integrated into digital notebooks | Organizing lecture and class notes |
| Adobe Scan | Mobile | Converts scanned images to PDFs | Scanning textbooks and class slides |
| Text Fairy | Android | High-accuracy handwriting recognition | Converting handwritten notes into text |
| Online OCR | Web | Supports multi-format image and text files | Extracting text from PDFs and images |
Each of these tools offers unique features that cater to different types of notes and study styles. I’ve personally found Google Keep great for quick photo-to-text conversion during lectures. However, OneNote is ideal for more structured note organization, especially if you like to sync notes across devices.
Using Image to Text for Scanning Lecture Slides
One of the best uses of OCR for students is scanning lecture slides or textbooks. Many professors share presentations with tons of text that are often difficult to capture on paper. Instead of frantically writing everything down, you can take a screenshot or snap a picture of the slide and use OCR to extract the text.
This saved me a lot of time during my business law class. The professor would upload dense slides with lots of information, and instead of typing all the content, I’d capture the slides using Google Lens and then edit them as necessary. This allowed me to focus on understanding the material instead of being stuck in a race to write everything down.
Secondary Keyword: Converting Handwritten Notes to Text
OCR can also be used for converting handwritten notes into digital format. This is especially helpful if you prefer taking notes on paper but want a digital backup for easier editing and organization. Tools like Microsoft OneNote and Text Fairy can convert clear handwritten text into digital format.
When I started handwriting my notes instead of typing them, I used Text Fairy to scan my notebooks. It wasn’t perfect, especially if the handwriting was messy, but it did a pretty good job for well-written text. With a bit of editing, I was able to turn my handwritten notes into useful digital study material.
Secondary Keyword: OCR for Organizing Study Materials
OCR tools help students stay organized. Once you’ve converted text from images, you can categorize it by subject, topic, and even create folders for each class. This allows for easy retrieval and reduces clutter when you need to study or review notes for exams.
For example, using Google Drive OCR, I could upload images of lecture notes and textbooks. The best part is that the extracted text was saved in a Google Doc, which I could later organize into different folders by subject. This gave me an efficient way to keep track of notes, flashcards, and important study resources.
How to Make the Most of Image to Text Tools
Tips for Better Image Quality
For OCR to work efficiently, the image quality must be high. The clearer the text in the image, the more accurate the conversion will be. Here are some tips to ensure you get the best results:
- Good lighting: Make sure your photos are well-lit.
- High resolution: Use a camera or smartphone with a high-resolution lens for clear images.
- Avoid distortion: Keep the image as straight as possible to prevent the OCR tool from struggling to detect text.
I once tried scanning an old textbook in a dark room, and the OCR tool struggled to convert the blurry image. After adjusting the lighting, I noticed a significant improvement in the accuracy of the text extraction.
Reviewing and Editing Text After Conversion
Even with the best OCR tools, sometimes errors can occur, especially with complex or stylized fonts. After extracting text, always take a moment to proofread and edit it for accuracy. I recommend reviewing text carefully before adding it to your study materials or sharing it with others.
Next Steps for Faster Note-Taking
Once you’ve mastered the basics of image-to-text conversion, you’ll notice how much faster and easier your study sessions become. You can experiment with combining OCR tools with other study methods, such as flashcards or spaced repetition, to improve your learning process.
Benefits of Image to Text Tools in Group Projects
In group projects, everyone works on different parts of the same topic. One student may write notes by hand, while another may take photos of textbook pages. With image to text tools, it’s easy to combine everything into one shared document. You can take pictures of each team member’s work and convert them into editable text in seconds. From my experience managing tech at a school resource center, this approach made our group workshops much faster and more organized. Tools like Google Keep allow students to take a picture of notes and extract text with a few taps. That’s teamwork made simple!
How Teachers Encourage Digital Note-Taking
Many teachers now support digital learning. Some even ask students to upload notes online or type their homework. But typing everything from a book or handwritten page takes time. That’s where image to text tools help. Teachers I’ve worked with recommend using apps like Microsoft OneNote to scan notes and make them editable. Students can then copy, highlight, and share those notes easily during class.
Common Mistakes to Avoid When Using OCR
Even though image to text tools save time, they can sometimes make small mistakes. Here are a few issues I’ve seen students face:
| Mistake | Why It Happens | How to Fix It |
| Letters look weird | Handwriting is messy or unclear | Use a clean image or retype that section |
| Words are split wrongly | Shadows or poor lighting | Take photos in bright light with a clear background |
| Extra spaces or missing lines | OCR doesn’t read lines properly | Review the text before using it in class |
If you use a reliable tool and follow good practices, you’ll avoid most of these errors.
Apps That Work Well on School Devices
Some schools block certain apps or websites. So it’s smart to use tools that work on both phones and school laptops. Based on what I’ve seen in education settings, these apps are safe and useful:
- Adobe Scan: works on Android and iOS
- CamScanner: great for handwritten notes
- Text Fairy: free and works offline
I’ve personally recommended Adobe Scan to our digital learning team, and students have given great feedback about its accuracy.
Using OCR for Different Subjects
Each school subject has its own note-taking style. Science students often take photos of diagrams. History students may snap book pages. Image to text tools help both. When I taught a digital workshop, we showed how science students could use OCR to copy formulas and definitions from charts. In language classes, students used OCR to translate handwritten French sentences into editable English using Google Translate’s OCR feature.