How to Use Image to Text Tools in Google Docs and Microsoft Word
Why I Use OCR in My Office Work
As a professional manager, I deal with many scanned files and photos of printed documents every day. Some come from vendors, others from meetings or handwritten notes. To save time, I use image to text tools. They help me copy and edit the text from pictures without typing everything by hand. This process is called OCR, or Optical Character Recognition. It turns printed text in images into real text you can edit. It’s a smart way to work faster and stay organized.
What Is Image to Text and Why It Matters
Image to text tools scan pictures, PDFs, or screenshots and pull out the words so you can use them in Word or Google Docs. They help save time, cut errors, and make it easier to organize your files. I often get receipts or forms as photos on my phone. Instead of retyping everything, I just convert the image to text and paste it where I need. These tools are useful for students, office workers, and even for personal use like copying recipes or quotes from images. Tools like Google Drive OCR and Microsoft OneNote OCR are free and built-in.
Google Docs: Image to Text Made Easy
Step 1: Upload Your Image to Google Drive
First, go to Google Drive. Click the “+ New” button and upload your image or PDF. Once it’s uploaded, right-click on the file and select “Open with” > “Google Docs.”
Step 2: Let Google Docs Work Its Magic
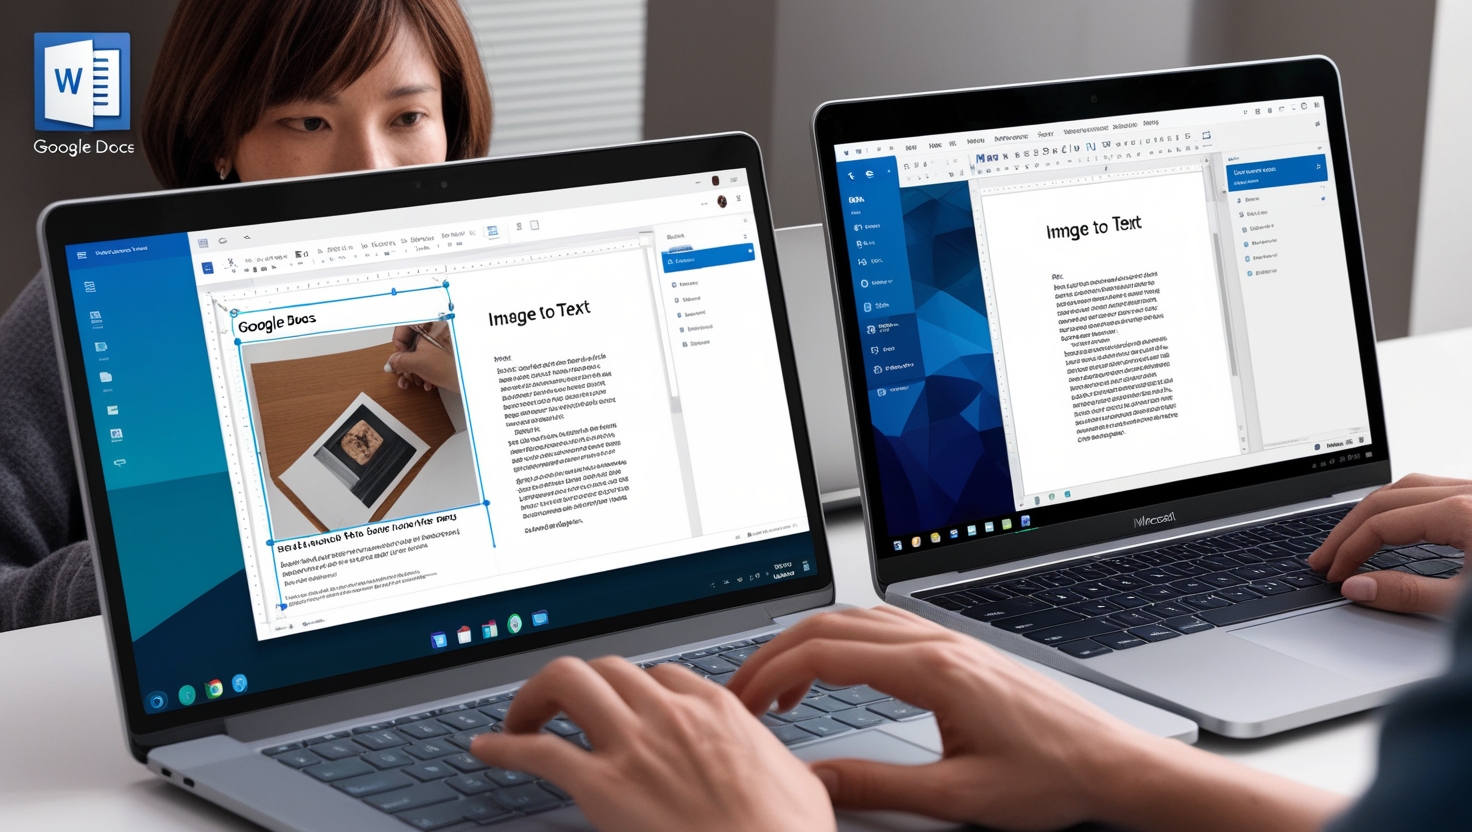
When Google Docs opens your image file, you’ll see the picture at the top and the extracted text just below it. It’s that easy. You can now copy, edit, or format the text just like any regular document. Google uses OCR technology to read the image and pull the words out.
Step 3: Clean Up the Text
Sometimes the text isn’t perfect, especially if the image is blurry or the font is fancy. That’s when I fix small mistakes like missing punctuation or strange line breaks. You can format the text using fonts, colors, or bullet points just like any other document.
Tip: Use High-Quality Images
To get the best results, always upload clear images with readable text. Avoid photos taken in poor lighting or at weird angles. For better accuracy, use printed text instead of cursive or handwriting. If you want to learn more about how Google Docs does this, check Google’s OCR support.
Microsoft Word: A Powerful OCR Partner
Step 1: Use Microsoft OneNote First
Microsoft Word alone doesn’t convert images to text, but OneNote does. Open OneNote and insert your image by clicking “Insert” > “Pictures.” Once your image is in the note, right-click on it and select “Copy Text from Picture.”
Step 2: Paste into Word
Now open Microsoft Word and paste the copied text from OneNote. You can edit, format, or save it just like any Word file. I use this all the time when someone sends me scanned documents or old receipts.
Step 3: Try PDF OCR in Word
If you have a scanned PDF, just open it in Word. It will ask you to convert it into an editable document. This also uses OCR and works well with clear printed text. Learn more from Microsoft’s support page on OCR in Word.
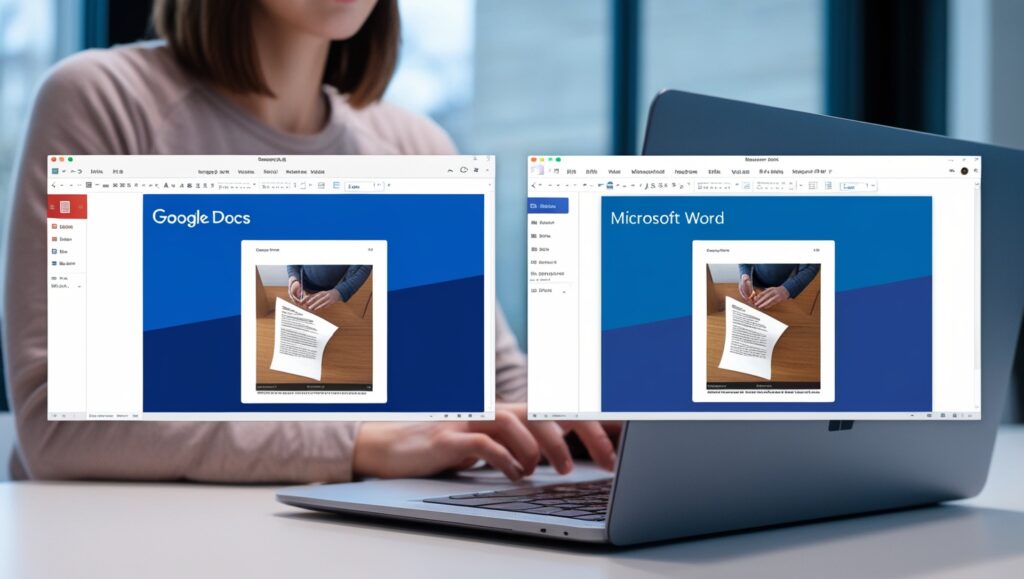
Which Tool Is Better? Google Docs or Word?
Here’s a quick comparison based on what I’ve used in real office work:
| Feature | Google Docs | Microsoft Word (with OneNote) |
| Free OCR | ✅ Yes | ✅ Yes |
| Built-in Support | ✅ Full (in Docs) | ➖ Partial (via OneNote) |
| Best for PDFs | ✅ Yes | ✅ Yes |
| Works with Images | ✅ Yes | ✅ Yes |
| Supports Cursive | ❌ No | ❌ No |
| Online Access | ✅ Yes | ✅ Yes |
| Formatting Tools | ✅ Basic | ✅ Advanced |
| File Sharing | ✅ Easy | ✅ Easy |
From my experience, Google Docs is quicker for fast tasks, while Word is better if you need to style your document in detail. I switch between them depending on my project.
Common Issues and How I Fix Them
Blurry Images Don’t Work Well
OCR struggles with fuzzy or dark photos. If a coworker sends me a bad scan, I ask for a clearer version or use apps like Adobe Scan to rescan it with better contrast. Good lighting makes a big difference.
Fancy Fonts or Logos Confuse OCR
Text inside logos or posters may not convert well. If I need to extract this kind of text, I try to crop the image to only include the words and remove the graphics. Clean images make the job easier for the OCR tool.
Foreign Languages Aren’t Always Supported
Most OCR tools work best with English or common Latin languages. If someone sends me a Japanese or Arabic document, I use tools like Google Translate with OCR or ABBYY FineReader for better support.
Using Image to Text for School, Business, and Home
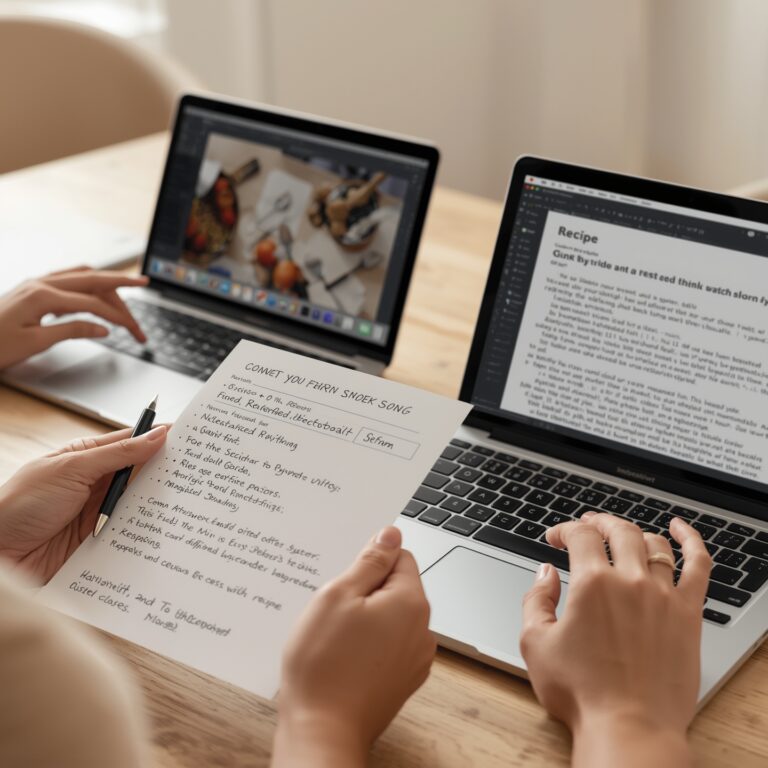
As a manager, I’ve also helped team members and interns use OCR to save time. But this isn’t just for office workers. Students use it to scan textbook pages or worksheets. At home, you can convert family recipes, business cards, or notes from picture format to text. I once scanned handwritten notes from a client meeting and turned them into a project summary in minutes. OCR is helpful for anyone who works with information in images.
Best Free Tools for Image to Text (OCR)
There are many free image to text converters online. I’ve used a few and recommend them based on speed, accuracy, and ease of use. Here are some trusted options:
| Tool | Features | Website |
| Google Docs OCR | Free, cloud-based, accurate | Google Drive |
| Microsoft OneNote | Good for copying text from pictures | Microsoft |
| OnlineOCR | Supports 46 languages, simple to use | OnlineOCR |
| Adobe Scan | Mobile app, scans receipts and notes | Adobe |
| Prepostseo OCR Tool | Simple and free, useful for students | Prepostseo |
I keep these bookmarked in my browser. For day-to-day tasks, I usually stick to Google Docs. But if I need to scan something using my phone, Adobe Scan is great because it also saves files as PDFs with searchable text.
Advanced Tips: Getting Better OCR Results
Use Clear, Flat Images
The sharper your image, the better the tool will read it. I always place papers on a flat surface with good lighting before taking a picture. Avoid shadows or wrinkled pages.
Use Standard Fonts
OCR tools love clean, printed fonts like Arial or Times New Roman. Avoid stylized or fancy fonts. In business reports or invoices, use easy-to-read styles for better conversion.
Don’t Use Handwriting Unless You Have To
Most free OCR tools do not work well with cursive or sloppy handwriting. If I get handwritten notes, I either type them out or use a specialized app like Google Keep which sometimes works okay for short handwritten phrases.
Convert Image to Black & White
Color images can be noisy. I often use photo editing apps to turn an image to black and white before uploading. This reduces distractions and boosts OCR accuracy.
How Much Does OCR Cost?
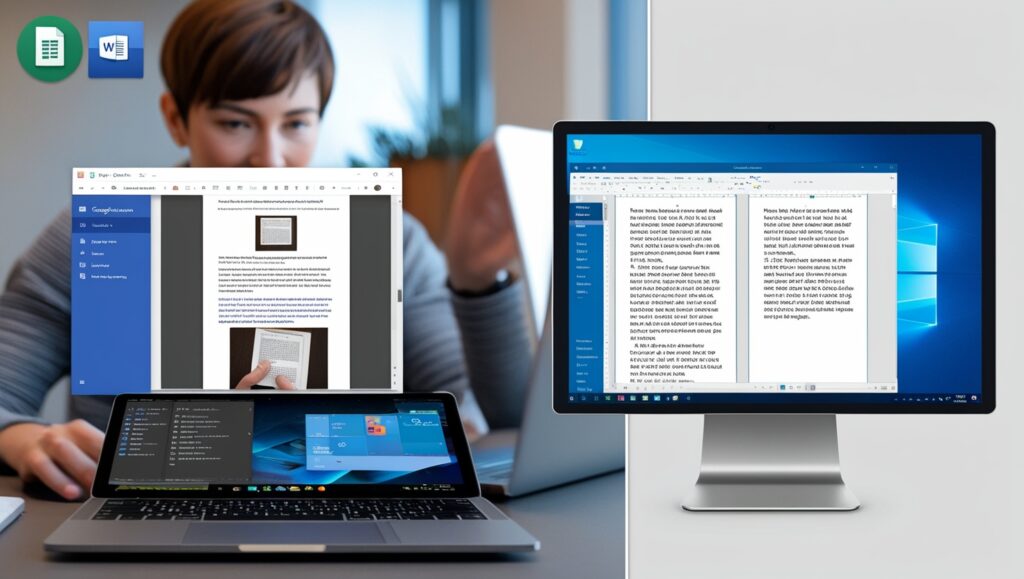
One of the best things about using OCR with Google Docs or Word is that it’s free. I’ve never paid for these tools unless I needed to convert a large file or use extra features like translating foreign languages or keeping layout formatting. If you want advanced features, you can try paid tools like ABBYY FineReader or Tesseract OCR, but for most users, free options work just fine.
Here’s a quick price guide:
| Tool | Cost | Good For |
| Google Docs OCR | Free | Office, school, personal |
| Microsoft Word + OneNote | Free with Microsoft 365 | Office and PDF editing |
| OnlineOCR | Free with limits | Fast one-time use |
| Adobe Scan | Free, optional subscription | Scanning on phones |
| ABBYY FineReader | Paid | Large projects, multiple languages |
Is It Safe to Use OCR Tools Online?
I always check if the site uses HTTPS (a lock icon in the browser) before uploading sensitive documents. Big names like Google, Microsoft, and Adobe are safe. But if you’re uploading legal, personal, or private data, use offline tools like OneNote or desktop OCR apps. I once needed to scan a confidential contract, and I used Word on my offline laptop just to be safe.
If you’re interested in how OCR security works and how online tools protect your data, check this CSO Online guide to secure cloud tools.
Final Thoughts: OCR Saves Time and Effort
Using image to text tools in Google Docs and Microsoft Word changed how I work. I don’t waste time retyping scanned notes or screenshots anymore. Whether it’s a photo from a whiteboard, a handwritten checklist, or a PDF from a supplier, I just scan and convert. It helps me get things done faster and with fewer mistakes. For anyone who works with documents—students, managers, freelancers—this is one digital skill you must learn.
If you’re just starting, I recommend trying it with a simple photo. Upload it to Google Drive or OneNote and see how easy it is. Once you get used to it, you’ll wonder how you lived without it.
